
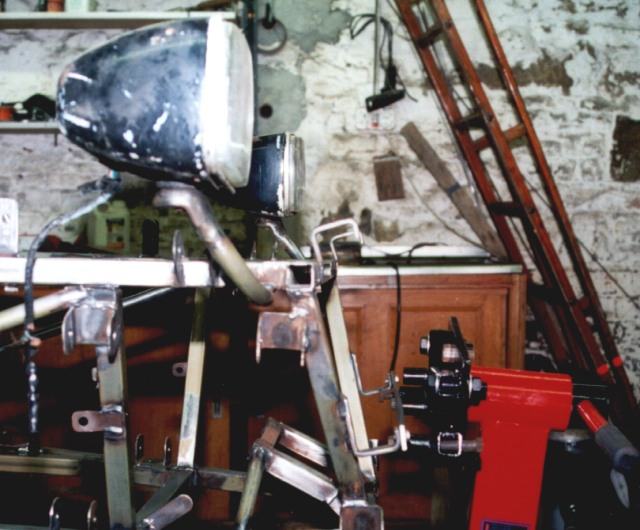
The headlamps are supported with two brackets welded to the chassis.
I am using 2CV rectangular headlights which tuck in close to the
nosecone.
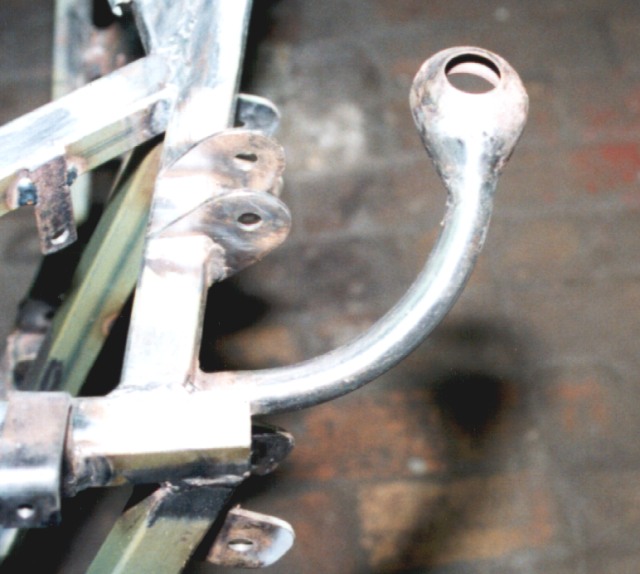
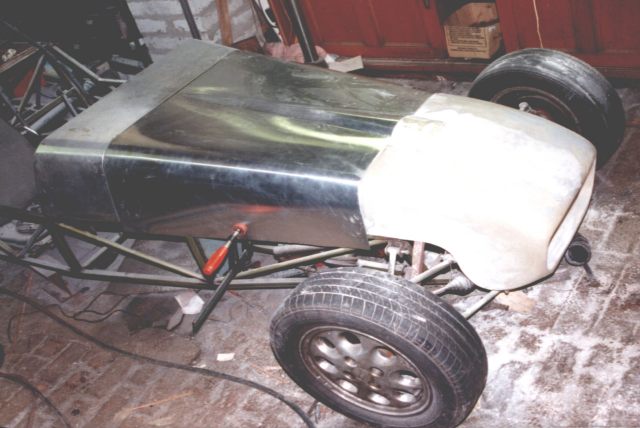
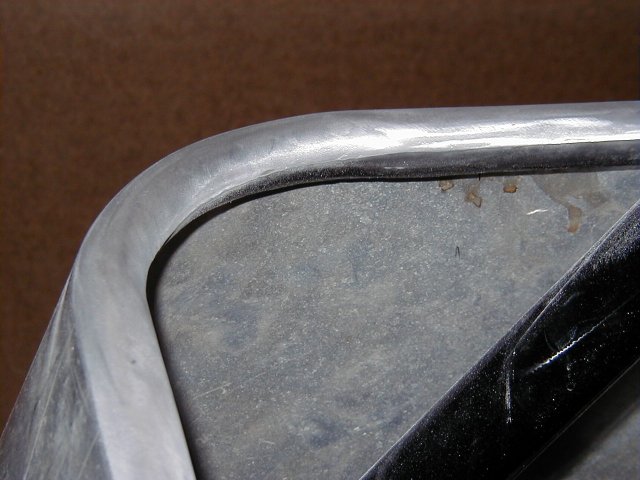
 I added flares on
the sides of the nosecone to cover the suspension brackets. This helps
with the SVA test as the exposed brackets will be considered sharp
edges. I have to admit I am not particularly keen on the looks of the
flares but you cannot have everything.
I added flares on
the sides of the nosecone to cover the suspension brackets. This helps
with the SVA test as the exposed brackets will be considered sharp
edges. I have to admit I am not particularly keen on the looks of the
flares but you cannot have everything.
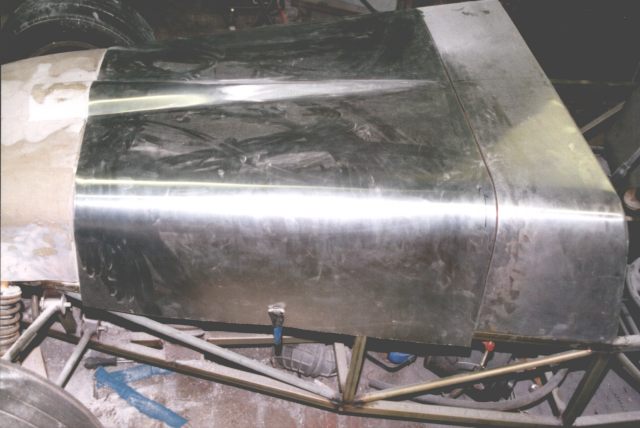
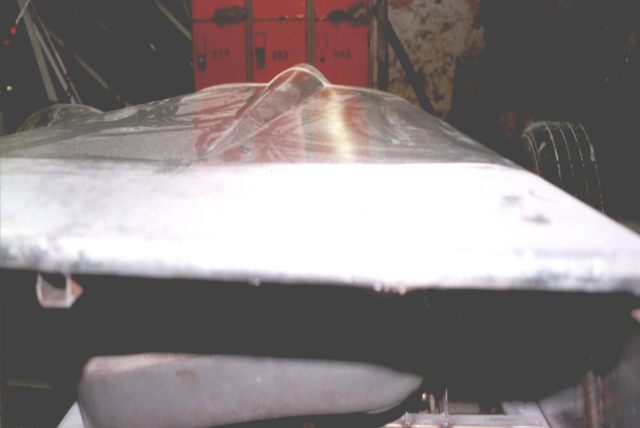
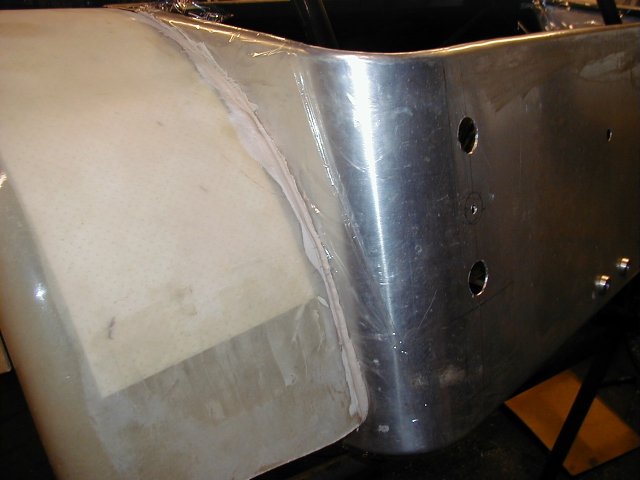
The bulge in the bonnet is to clear the cam cover and timing
wheel. It was made by placing the sheet on two pieces of wood that
were placed in a V shape. Two more pieces of wood were clamped on top
and then the bulge was made by pressing the aluminium downwards with
a piece of plastic gutter pipe. The end result is a suprisingly good
curve. The grade of aluminium that I am using is very hard and it
took a considerable amount of effort with clamps and a 2lb lump
hammer to get the bulge deep enough.
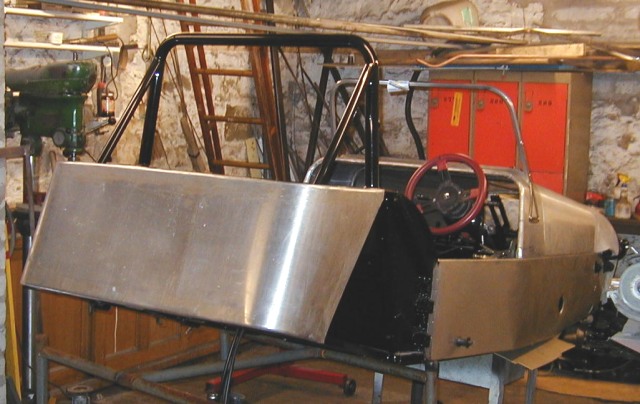
 This is the view from the
driver's seat. You can see the way the bulge tapers towards the
scuttle.
This is the view from the
driver's seat. You can see the way the bulge tapers towards the
scuttle.
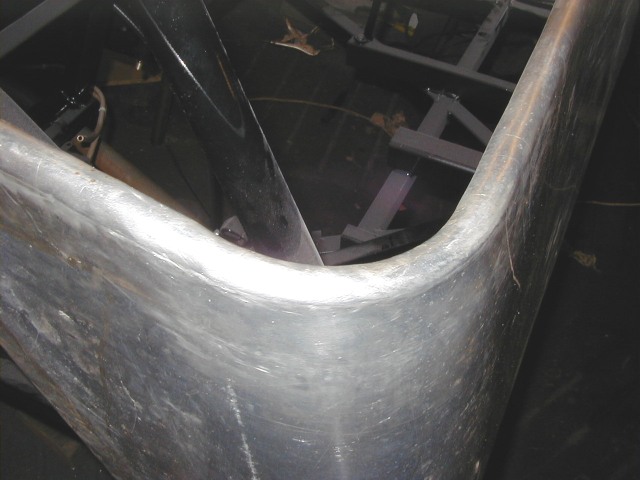
 I finally
built up the courage to attempt the back panel. I practised forming
the curves on some scrap before attempting the real thing. Forming the
corners was difficult but not as bad as I thought. I had to anneal each
corner three times to get the aluminium to form without kinks.
I finally
built up the courage to attempt the back panel. I practised forming
the curves on some scrap before attempting the real thing. Forming the
corners was difficult but not as bad as I thought. I had to anneal each
corner three times to get the aluminium to form without kinks.
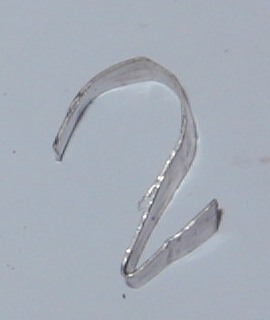 I made a couple of
these simple clips to hols the back panel in place while measuring up
and marking it out. The clips hook over the bottom chassis tube and the
panel sits in them.
I made a couple of
these simple clips to hols the back panel in place while measuring up
and marking it out. The clips hook over the bottom chassis tube and the
panel sits in them.
 I
cheated rather on the bottom corners by cutting the aluminium back. It
made the corners dead easy to form.
I
cheated rather on the bottom corners by cutting the aluminium back. It
made the corners dead easy to form.
 These are the corners shortly after they were formed. As you can see
there are a lot of small hammer marks. At this stage I thought I would
need to use some filler to hide them.
These are the corners shortly after they were formed. As you can see
there are a lot of small hammer marks. At this stage I thought I would
need to use some filler to hide them.
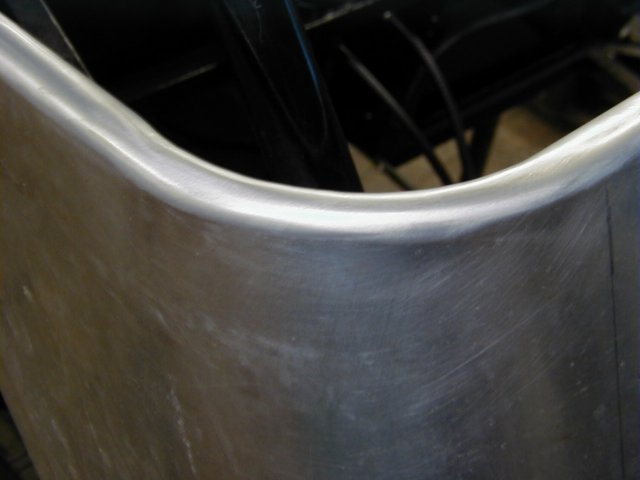
 However, after a couple of
hours with a file and emery tape the corners look almost perfect. It
is almost a pity I am going to paint them!
However, after a couple of
hours with a file and emery tape the corners look almost perfect. It
is almost a pity I am going to paint them!
 Once
the back panel was formed it was time to fit the rear wheelarches.
There was quite a large gap at the rear so I put some cling film over
the back panel, covered the wheelarch joint face with filler and
clamped the arch in place. Filler won't stick to cling film so it is
ideal for this kind of job.
Once
the back panel was formed it was time to fit the rear wheelarches.
There was quite a large gap at the rear so I put some cling film over
the back panel, covered the wheelarch joint face with filler and
clamped the arch in place. Filler won't stick to cling film so it is
ideal for this kind of job.
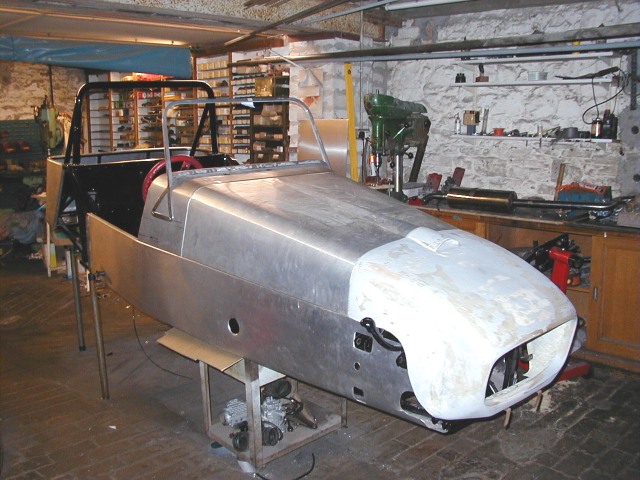 Hey,
this is beginning to look like a car!
Hey,
this is beginning to look like a car!
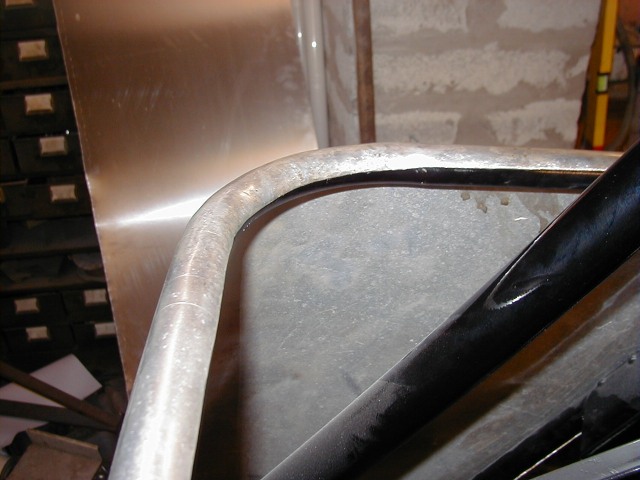
 Most cars use external bonnet catches but SVA compliant catches are
£15 each. That is £60 just to hold the bonnet down! Being
finacially careful (tight as a duck's a**), I decided to use internal
catches. Four hooks on the bonnet locate in spring loaded catches
welded into the chassis. The catches will be released by cables
operated from under the dash.
Most cars use external bonnet catches but SVA compliant catches are
£15 each. That is £60 just to hold the bonnet down! Being
finacially careful (tight as a duck's a**), I decided to use internal
catches. Four hooks on the bonnet locate in spring loaded catches
welded into the chassis. The catches will be released by cables
operated from under the dash.
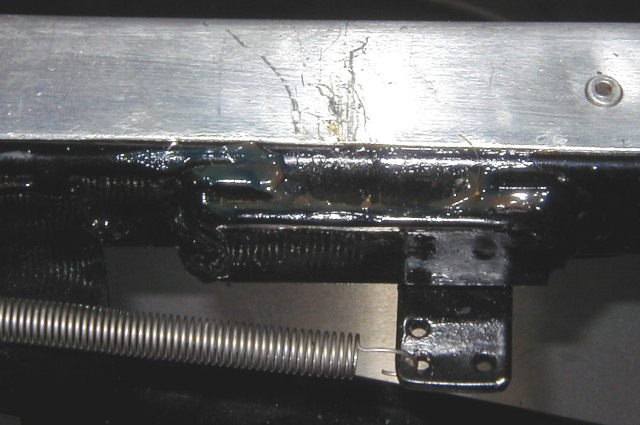 This photo is not very clear
i'm afraid but it is difficult to photograph a black catch on a black
background!
This photo is not very clear
i'm afraid but it is difficult to photograph a black catch on a black
background!
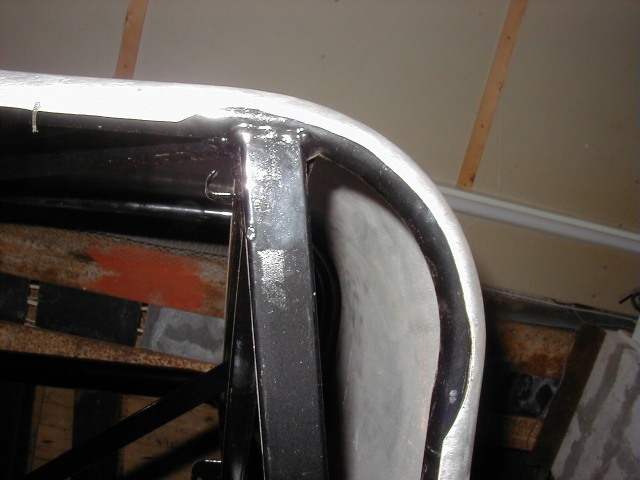
 This is the hook that locates
in the catch. It is bolted to a piece of 25mm x 25mm SHS aluminium
which reinforces the bottom edge of the bonnet.
This is the hook that locates
in the catch. It is bolted to a piece of 25mm x 25mm SHS aluminium
which reinforces the bottom edge of the bonnet.
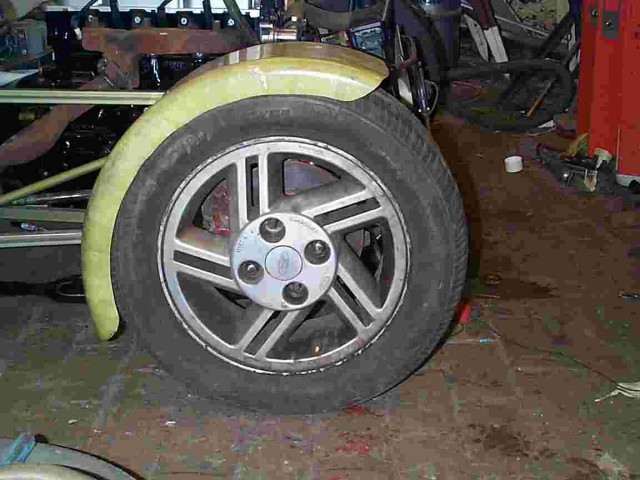
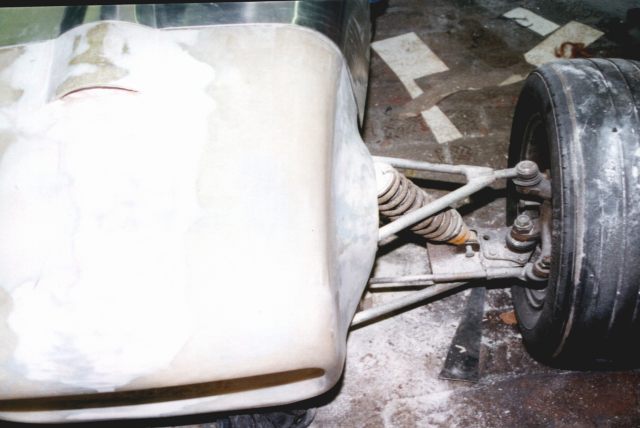
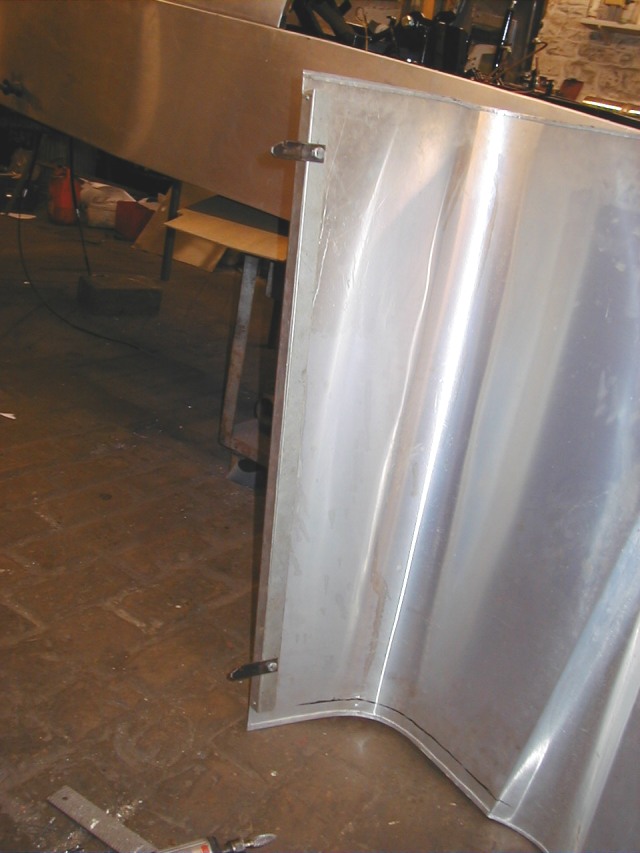
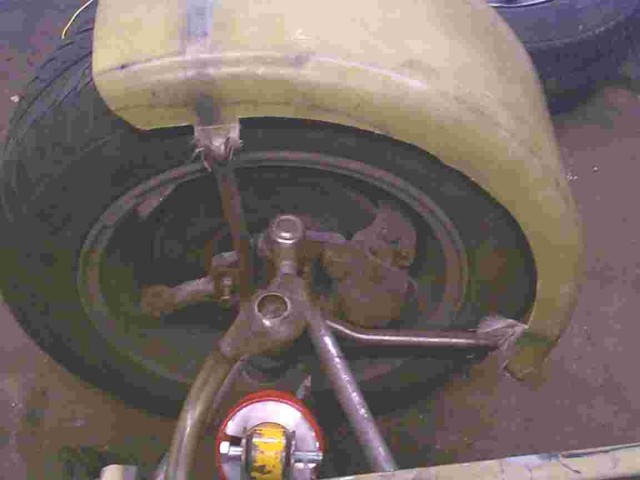 This is one of my
mudguards. I may need to move it further away from the wheel as it is
a bit difficult to change the wheel at the moment! The mudguard is
mounted using the three disc stone guard screws rather than as in the
book. The brackets are moulded into the mudguard.
This is one of my
mudguards. I may need to move it further away from the wheel as it is
a bit difficult to change the wheel at the moment! The mudguard is
mounted using the three disc stone guard screws rather than as in the
book. The brackets are moulded into the mudguard.